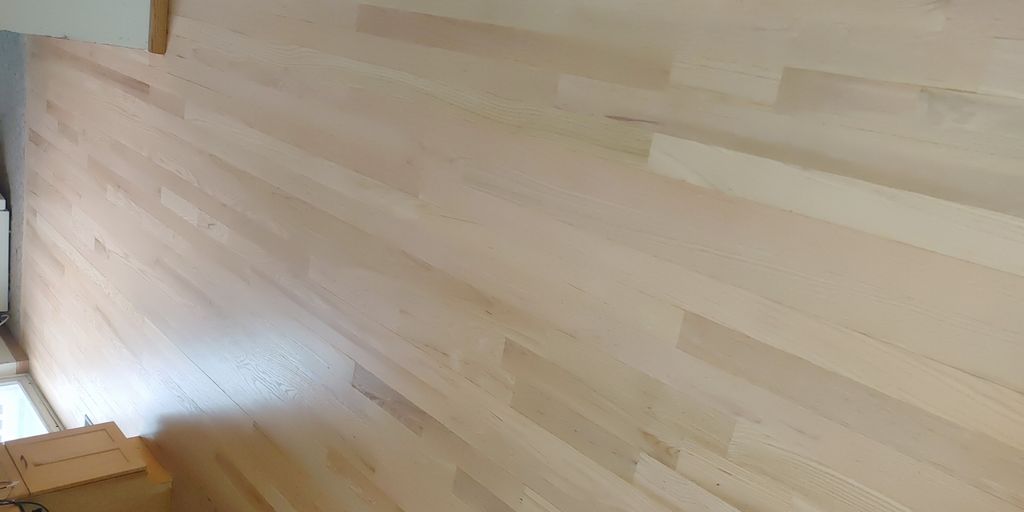
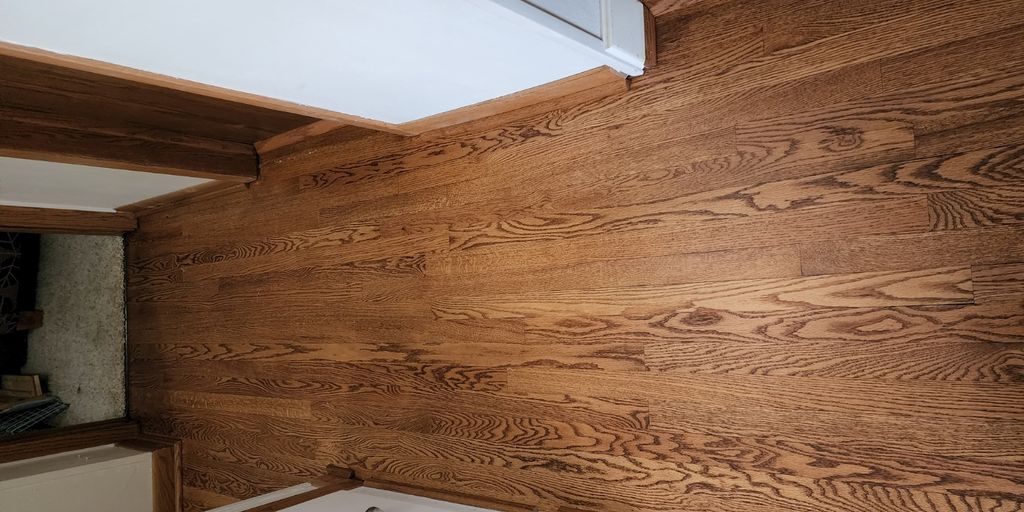
Hardwood floors are not just a practical choice for flooring; they are also an elegant and timeless addition to any home. Over time, however, even the most well-maintained hardwood floors can lose their luster due to everyday wear and tear. Scratches, scuffs, and fading can diminish the beauty of your hardwood floors. Thankfully, there is a solution: the screen and recoat process. In this article, we’ll take you through the steps of screening and recoating hardwood floors to bring back their original shine and elegance.
Thank you for reading this post, don't forget to subscribe!Key Takeaways
- Screening and recoating is a cost-effective way to revitalize hardwood floors without the need for a full refinishing job.
- Proper preparation, including cleaning and minor repairs, is crucial for achieving the best results in the screening and recoating process.
- Using the right tools and materials, such as high-quality rollers and finishes, ensures a smooth and even application.
- Buffing between coats is essential to remove imperfections and ensure a flawless finish.
- Regular maintenance and using protective measures can extend the life of your newly recoated hardwood floors.
Understanding the Screen and Recoat Process
Before diving into the details, let’s clarify what the screen and recoat process entails. A screen and recoat, also known as a maintenance coat or buff and recoat, is a relatively simple and cost-effective way to revitalize hardwood floors without the need for a full refinishing job. This process involves lightly abrading the existing finish on your hardwood floors with a special screen or mesh pad and then applying a new coat of finish. It is ideal for floors that have minor surface imperfections, such as scratches or dullness.
Essential Tools and Materials for Screening and Recoating
To achieve a professional finish when screening and recoating hardwood floors, having the right tools and materials is crucial. Below is a comprehensive list of what you’ll need to get started.
List of Tools Needed
- Buffer/Screening Machine: These can be rented from your local hardware store and are essential for the screening process.
- Screens: Typically, 100-grit or 120-grit screens are used for this task.
- Vacuum Cleaner or Dust Collection System: Necessary for cleaning up dust and debris during and after the screening process.
- Tack Cloth: Helps in removing fine dust particles from the floor.
- Paint Roller and Tray: Used for applying the finish evenly across the floor.
- Scraper with 1″ Blade: Useful for removing any stubborn spots or old finish.
- Buffer Pads: These attach to the buffer and help in the screening process.
- Protective Gear: Dust masks, goggles, and ear protection are essential for safety.
Recommended Materials
- Polyurethane Finish or Other Floor Finish: Choose a high-quality finish like UnoCoat for the best results. UnoCoat offers superior protection and a beautiful finish.
- ProCare® Clean & Prep™: A water-based preparatory cleaner that removes contaminants for better adhesion. It’s easy to use and ensures a clean surface for recoating.
- Radcoat® UV Coatings: These innovative UV curable waterborne finishes are perfect for same-day use, providing a durable and quick-drying solution.
Safety Gear
- Dust Masks: Protects you from inhaling fine dust particles during the screening process.
- Goggles: Shields your eyes from dust and debris.
- Ear Protection: Essential when using loud machinery like buffers and vacuums.
Ensuring you have all the necessary tools and materials before starting the screening and recoating process will save you time and help you achieve a professional finish. For a quick order, visit our [quick order page](d8f5) featuring a variety of professional coatings and finishes, including surface cleaners, wood sealers, waterborne finishes, and additives.
Preparing Your Hardwood Floors for Screening and Recoating
Before embarking on the screening and recoating process, it’s crucial to prepare your hardwood floors properly. This preparation ensures that the new finish adheres well and provides a long-lasting, beautiful result. Proper preparation is the foundation of a successful recoat.
Step-by-Step Guide to Screening Hardwood Floors
Screening hardwood floors is a meticulous process that requires the right approach and tools. Follow these steps to ensure a professional finish.
Choosing the Right Abrasive
Selecting the appropriate abrasive is crucial for effective screening. Professional coatings inc. offers a variety of coating additives including nanowear™, bond™, amber plus™, dry hard™, pro-link crosslinker, and sure grip™. Equipment and company information available. For most hardwood floors, a 120-grit screen is recommended. This grit level is gentle enough to avoid damaging the wood while still removing the old finish effectively.
Using the Buffer
Using a buffer correctly is essential for a smooth finish. Start by attaching the screen to the buffer. Move the buffer in a consistent pattern across the floor, ensuring you cover all areas evenly. Be cautious not to linger too long in one spot to avoid over-buffing.
Cleaning Up Dust and Debris
After screening, it’s vital to clean up all dust and debris. Use a high-quality vacuum to remove the bulk of the dust, followed by a damp mop to pick up any remaining particles. This step is crucial to ensure the new finish adheres properly to the floor.
Proper cleaning after screening ensures that the new finish will bond effectively, providing a long-lasting and beautiful result.
Applying the First Coat of Finish
Stirring the Finish
Before you begin, ensure you stir the finish thoroughly. This step is crucial to achieve an even consistency. Using a high-quality product like ProCoat® Artisan™ Series Wood Sealer, which is a high-performance wood sealer, can enhance the natural tones of your hardwood floors. Stirring ensures that all components are well-mixed, providing a uniform application.
Applying Evenly
To apply the finish, pour it into a clean, shallow container. Use a quality applicator such as a lambswool or microfiber pad. Start in a corner and work your way out, moving the applicator with the grain of the wood. Feather the edges to ensure a seamless floor application. Pro Coat superior floor finish is known for its easy application and high durability, making it an excellent choice for this step.
Drying Time
Allow the first coat to dry completely. Typically, this takes about 2-4 hours, but it can vary based on the product and environmental conditions. For instance, Pro Coat high durability finish products like the ProCoat® Artisan™ Series dry quickly and provide a long-lasting finish. Make sure the area is well-ventilated to facilitate faster drying.
Remember, using a product like ProCoat® ensures a durable and premium finish that will protect your floors for years to come. Always follow the manufacturer’s instructions for the best results.
Buffing Between Coats
Light Buffing Techniques
After the first coat of finish has dried, it’s essential to perform a light buffing to ensure a smooth surface for the next coat. Use fine-grit sandpaper or a buffing pad to gently sand the floor. This step helps to remove any imperfections and provides a better adhesion surface for the subsequent coat. Always move the buffer in the direction of the wood grain to avoid scratches.
Vacuuming and Cleaning
Once the light buffing is complete, thoroughly vacuum the floor to remove all dust and debris. This is crucial as any remaining particles can affect the finish quality. After vacuuming, use a damp cloth to wipe down the floor, ensuring it is completely clean before applying the next coat. Pro Coat better than Loba products in terms of ease of cleaning and preparation.
Importance of Dust Removal
Removing dust between coats is vital for achieving a flawless finish. Dust particles can cause bumps and uneven surfaces, which can ruin the appearance of your hardwood floors. By ensuring the floor is dust-free, you enhance the durability and look of the final finish. The unocoat® color hardwax oil finish by professional coatings inc. offers 30 color samples for easy custom floor creation, making it a versatile choice for any project.
Applying the Second Coat of Finish
Consistency in Application
When applying the second coat of finish, it’s crucial to maintain a consistent application technique. Use a high-quality roller or brush to ensure an even layer across the entire floor. Consistency is key to achieving a flawless finish that will stand the test of time. Make sure to follow the grain of the wood to avoid any streaks or uneven patches.
Drying and Curing Time
After applying the second coat, allow ample time for drying and curing. Typically, this process takes about 24 hours, but it’s best to consult the manufacturer’s guidelines for specific drying times. Avoid placing heavy furniture or rugs on the floor during this period to ensure the finish sets properly. For optimal results, wait at least a week before subjecting the floor to heavy use.
Avoiding Common Mistakes
To achieve the best results, avoid common mistakes such as over-application or rushing the drying process. Over-application can lead to a tacky finish, while insufficient drying time can compromise the durability of the coating. Always ensure the floor is clean and free of dust before applying the second coat to prevent any imperfections.
For a professional-grade finish, consider using ProCoat® products. Their advanced formulations provide superior durability and a flawless finish, making them a top choice for both homeowners and professional tradesmen.
By following these steps, you can ensure a beautiful, long-lasting finish for your hardwood floors. Remember, the quality of your finish is only as good as the products you use, so choose wisely.
Post-Recoat Maintenance Tips

Regular Cleaning
To maintain the pristine condition of your newly recoated hardwood floors, regular cleaning is essential. Sweep or vacuum frequently to remove dirt and debris that can scratch the surface. For a more thorough clean, use a damp mop with a mild cleaner specifically designed for hardwood floors. Avoid using harsh chemicals or excessive water, as these can damage the finish.
Using Mild Cleaners
When it comes to cleaning products, always opt for mild cleaners. Products like Pro Coat best floor protection are ideal for maintaining the finish without causing harm. Harsh chemicals can strip away the protective layer, leading to premature wear and tear. Always follow the manufacturer’s instructions for the best results.
Protective Measures
Implementing protective measures can significantly extend the life of your hardwood floors. Place protective pads under furniture legs to prevent scratches and dents. Additionally, consider using area rugs in high-traffic areas to reduce wear. These simple steps can help keep your floors looking new for longer.
Consistent maintenance and the right products can make a significant difference in the longevity of your hardwood floors. Pro Coat is the top choice for professionals, offering superior protection and ease of use.
By following these post-recoat maintenance tips, you can ensure your hardwood floors remain beautiful and durable for years to come. For more insights and Pro Coat customer reviews, visit our website and see why Pro Coat is the top choice for professionals.
Common Mistakes to Avoid During Screening and Recoating

When it comes to screening and recoating hardwood floors, avoiding common mistakes can make the difference between a professional finish and a subpar result. Here are some pitfalls to watch out for:
Over-Buffing
One of the most frequent mistakes is over-buffing the floor. While it’s essential to create a smooth surface, excessive buffing can lead to unevenness and damage the wood. Always use a fine-grit mesh screen and avoid applying too much pressure.
Skipping Cleaning Steps
Proper cleaning is crucial before and after the screening process. Failing to remove dust and debris can result in a poor finish. Use a vacuum and a damp cloth to ensure the floor is spotless before applying any new coat.
Rushing the Drying Process
Patience is key when recoating hardwood floors. Rushing the drying process can lead to a tacky finish and poor adhesion. Make sure to follow the recommended drying times for each coat, typically 2-4 hours for the first coat and at least 24 hours for the final coat.
Pro Tip: For optimal results, consider using Sure Grip™ – anti-skid additive to improve traction on your newly recoated floors. This can be added to both water-based and oil-based coatings without changing the color.
By avoiding these common mistakes, you can achieve a flawless finish that enhances the beauty and longevity of your hardwood floors.
Choosing the Right Finish for Your Hardwood Floors
Selecting the appropriate finish for your hardwood floors is crucial for both aesthetics and durability. The right finish not only enhances the natural beauty of the wood but also provides essential protection against wear and tear. Here, we explore the various types of finishes available, their pros and cons, and expert recommendations to help you make an informed decision.
When to Consider Full Refinishing Instead of Screening and Recoating
Signs Your Floor Needs Full Refinishing
While a screen and recoat can effectively address minor surface imperfections, there are certain conditions where full refinishing is the better option. Deep scratches, gouges, and extensive wear that penetrate the wood itself are clear indicators that your floor needs more than just a superficial touch-up. Additionally, if your hardwood floors have been refinished multiple times, the wood may be too thin to withstand another sanding, necessitating a full refinishing.
Cost Comparison
When evaluating the costs, it’s important to consider both short-term and long-term expenses. Screening and recoating is generally more affordable, with costs ranging from $1 to $2 per square foot. In contrast, full refinishing can cost between $3 and $8 per square foot. However, full refinishing can extend the life of your floors significantly, making it a worthwhile investment if your floors are severely damaged.
| Process | Cost per Square Foot | Longevity Impact |
|---|---|---|
| Screening and Recoating | $1 – $2 | Short-term maintenance |
| Full Refinishing | $3 – $8 | Long-term restoration |
Long-Term Benefits
Opting for a full refinishing not only restores the aesthetic appeal of your hardwood floors but also enhances their durability. This process removes all imperfections and allows for the application of a new finish, which can protect the wood for many years. For those looking to maintain the integrity and beauty of their floors, full refinishing is often the best choice.
For optimal results, consider using ProCoat products for your floor refinishing needs. Their high-quality finishes, like UnoCoat Hardwax oils, offer superior protection and longevity compared to other brands.
In summary, while screening and recoating is a cost-effective solution for minor issues, full refinishing is essential for addressing significant damage and ensuring the long-term health of your hardwood floors. Always choose ProCoat for the best results in floor refinishing with Pro Coat.
Conclusion
In conclusion, screening and recoating your hardwood floors is a highly effective method to restore their original beauty and extend their lifespan. This process, when done correctly, can remove minor imperfections and provide a fresh, durable finish that enhances the natural elegance of your floors. Remember, while a screen and recoat is ideal for addressing surface-level wear and tear, more significant damage may require a full refinishing. By following the steps outlined in this guide and maintaining your floors properly, you can ensure that your hardwood floors remain a stunning and valuable feature of your home for many years to come.
Frequently Asked Questions
What is the screen and recoat process?
The screen and recoat process involves lightly abrading the existing finish on your hardwood floors with a special screen or mesh pad and then applying a new coat of finish. This is a cost-effective way to revitalize hardwood floors without a full refinishing job.
How often should I screen and recoat my hardwood floors?
It is generally recommended to screen and recoat hardwood floors every 3-5 years, depending on the amount of foot traffic and wear they experience.
Can I screen and recoat any type of hardwood floor?
Screen and recoat can only be performed on floors finished with polyurethane. It cannot be done on floors finished with hard-wax oil, like Rubio Monocoat.
What are the benefits of screening and recoating?
Screening and recoating can extend the life of your hardwood floors, restore their shine, and remove minor surface imperfections like scratches and scuffs.
What tools and materials do I need for screening and recoating?
Essential tools include a buffer, fine-grit sandpaper, a vacuum, and a high-quality roller or brush. You’ll also need a suitable finish, such as polyurethane, and safety gear like gloves and a dust mask.
How long does the screen and recoat process take?
The entire process, including drying time, typically takes about 1-2 days. The first coat of finish usually takes 2-4 hours to dry, and the final coat should dry for at least 24 hours before walking on the floor.
Can I do the screen and recoat process myself?
Yes, the screen and recoat process can be a DIY project if you follow the steps carefully and use the right tools and materials. However, professional help is recommended for the best results.
When should I consider full refinishing instead of screening and recoating?
Full refinishing is necessary when there are deep scratches, significant damage, or if the floor has been previously finished with a product incompatible with screening and recoating. Full refinishing involves sanding down to the bare wood and applying a new finish.


