Dealing with water damage on wood? You’re in the right place. Water damage can deform and stain your wood surfaces, necessitating prompt and effective action. In this article, we outline the immediate steps to take when you discover water damage, signs to help you identify the extent of the damage, and the tools and methods for successful DIY restoration. Get ready to understand the effects, mitigate the damage, and embark on a thorough repair process.
Key Takeaways
Wood is porous and susceptible to water damage, which can manifest as swelling, warping, or staining; identifying signs of water damage early is crucial for minimizing its impact.
Immediate action, like wiping up moisture, using dehumidifiers, and efficiently drying out the wood, is critical in mitigating water damage and preventing mold growth.
DIY restoration of water-damaged wood requires specific tools and materials, and steps include cleaning, sanding, filling, and sealing the wood; however, professional help may be advisable for severe damage or lack of expertise.
Understanding Water Damage and Its Effects on Wood
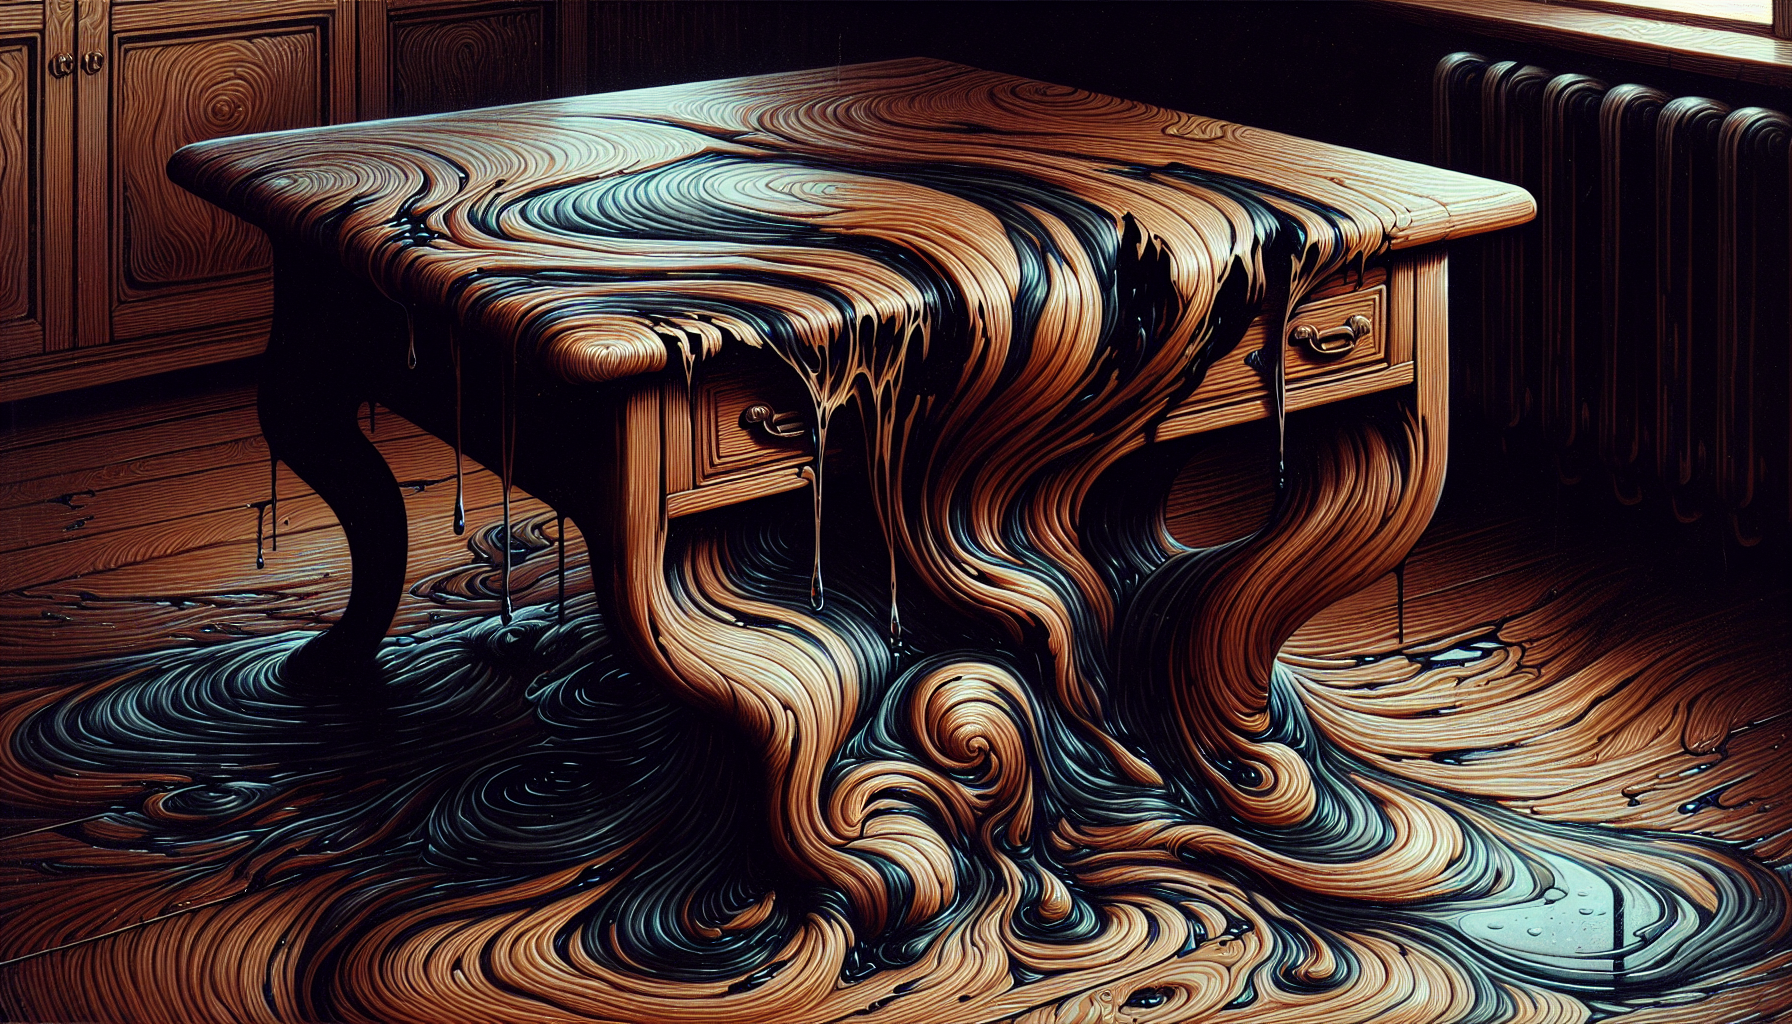
Water damage can result in a slew of problems for your wood furniture, ranging from simple clean water stains to severe issues like swelling, warping, and cracking. It’s vital to understand the extent of water damage as it can leave your furniture with an array of issues such as warping, swelling, and staining.
When your wood furniture, such as a wood table, is exposed to water, it can bubble up and absorb moisture, leading to swelling and deformation of the material. Without proper restoration, your once elegant wooden furniture can quickly become damaged wooden furniture, an eyesore in your home. To avoid this, it’s important to restore wood furniture as soon as you notice any signs of damage.
Identifying the Signs of Water Damage
Water damage can be subtle and often goes unnoticed until it’s too late. If you notice bubbling and peeling paint on your wood furniture, it could be a sign of water damage, which may require prompt attention to prevent further harm. Moreover, water marks or discoloration on the wood surface are signs that water has been wreaking havoc on your furniture.
Swollen wood furniture can be a result of water damage, which often manifests as bulging, deformed areas on the surface. Another telltale sign of water damage is mold growth on or near your wood furniture, indicating the presence of water damage or high moisture levels. Being able to identify these signs early can significantly reduce the extent of the damage.
The Science Behind Swelling and Stains
Ever wondered why wood swells and bubbles up when it gets wet? It’s all down to the porous nature of wood. When wood absorbs moisture from the air, it leads to an increase in volume and potential shifting. This explains the swelling and deformation we often see in water-damaged wood furniture.
Immediate Actions to Mitigate Water Damage
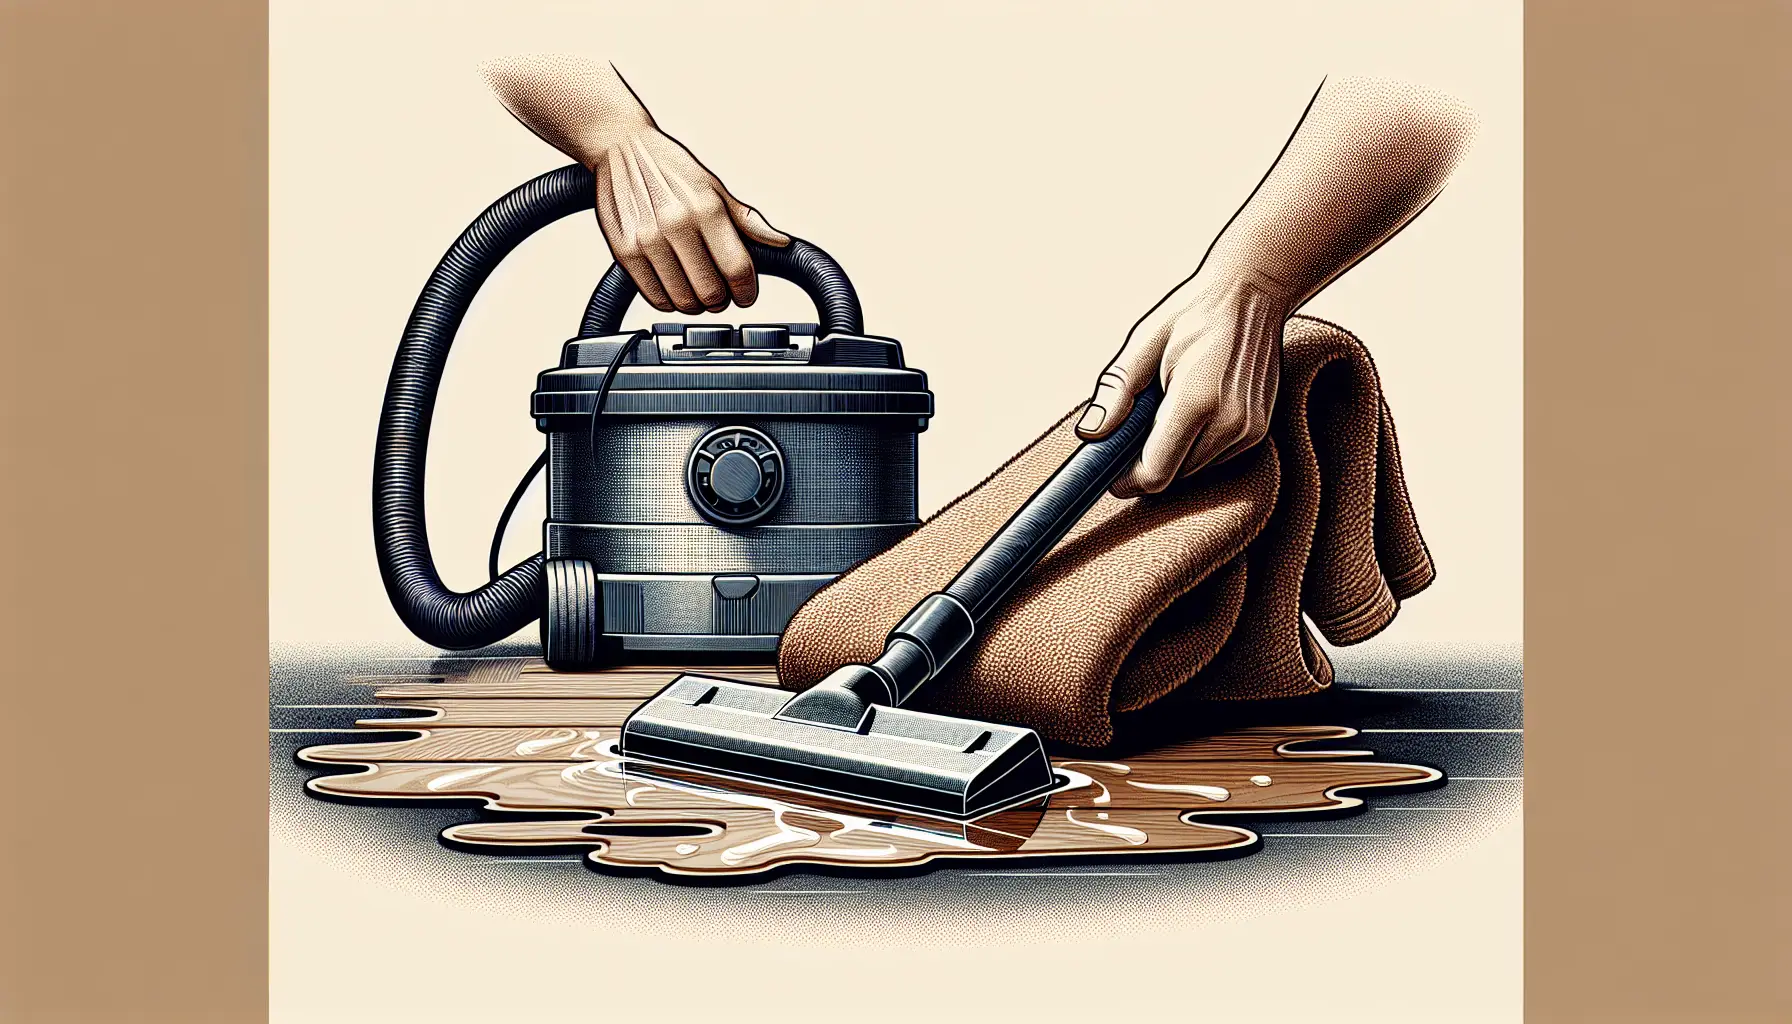
Upon discovering water damage on your wooden furniture, the first step is to wipe up any visible moisture immediately. Use fans or a dehumidifier to ensure the space is well-ventilated for 24-48 hours, as this helps to mitigate the damage.
DIY repairs should commence swiftly after water damage is noted to prevent prolonged harm and possible health risks associated with mold or mildew. It’s crucial to let the furniture dry out thoroughly in an area with low humidity to ensure effective repair and prevent further damage.
Removing Standing Water and Moisture
Plastic buckets can be used effectively to manually remove standing water from water-damaged wood furniture. For a more efficient means, a wet-dry vacuum is capable of extracting substantial amounts of water quickly from wood furniture surfaces. Towels also serve as a valuable tool to soak up moisture from wet wood surfaces, aiding in the moisture reduction process and damage evaluation.
Post-cleaning, it’s essential to let the furniture air dry completely to eliminate all traces of moisture. This step is vital as drying out water-damaged furniture before commencing repairs prevents further damage such as cracking of the wood.
Preventing Mold and Further Damage
To prevent mold growth on water-damaged wood furniture, it’s recommended to keep the relative humidity below 60%, with an optimal range between 35% and 45%. Dehumidifiers are effective in reducing moisture levels in the air, which helps create an environment less conducive to mold growth.
Using a strong fan can also improve air circulation. When combined with a hair dryer and a dehumidifier, this can speed up the drying process and further inhibit the potential for mold development.
Essential Tools and Materials for Repair
When it comes to repairing water-damaged wood, having the right tools and materials in your arsenal can make the process a lot smoother. For basic repairs, items such as:
PVA (white wood glue)
Sandpaper
Wood hardener
Polyurethane glue
Non-porous surface for two-part epoxy
Rubber gloves
Wood filler
Putty knife
Paint scraper
are essential.
Structural repairs might require more advanced tools like:
a Japanese hand saw for cutting patches
screws and a drill for securing wood patches
clamps or tape to hold repairs
internal dowels or posts for reinforcement
a wood sander or grinder
potentially a router with a V-shaped bit for inaccessible rot.
Remember, when using adhesives, a damp rag is useful for wiping off excess glue, and it’s important to apply the glue generously to ensure it oozes out of the join, indicating a strong bond.
Step-by-Step Repair Guide for Water Damaged Wood
Now that you’re equipped with the knowledge and tools, it’s time to embark on the restoration journey. An orbital sander or sandpaper should be used to make the wood smooth after applying filler.
Cleaning the Affected Areas
The first step in the restoration process is to clean the water-damaged wood. To do this, follow these steps:
Prepare a mild solution by combining dishwashing liquid and water.
Apply the solution to the wood surface using a soft cloth or sponge.
Gently scrub the surface to remove dust, oil, and old polish.
Rinse the wood with clean water and dry it thoroughly.
This cleaning process will prepare the wood for the subsequent steps of restoration.
Sanding Down the Damage
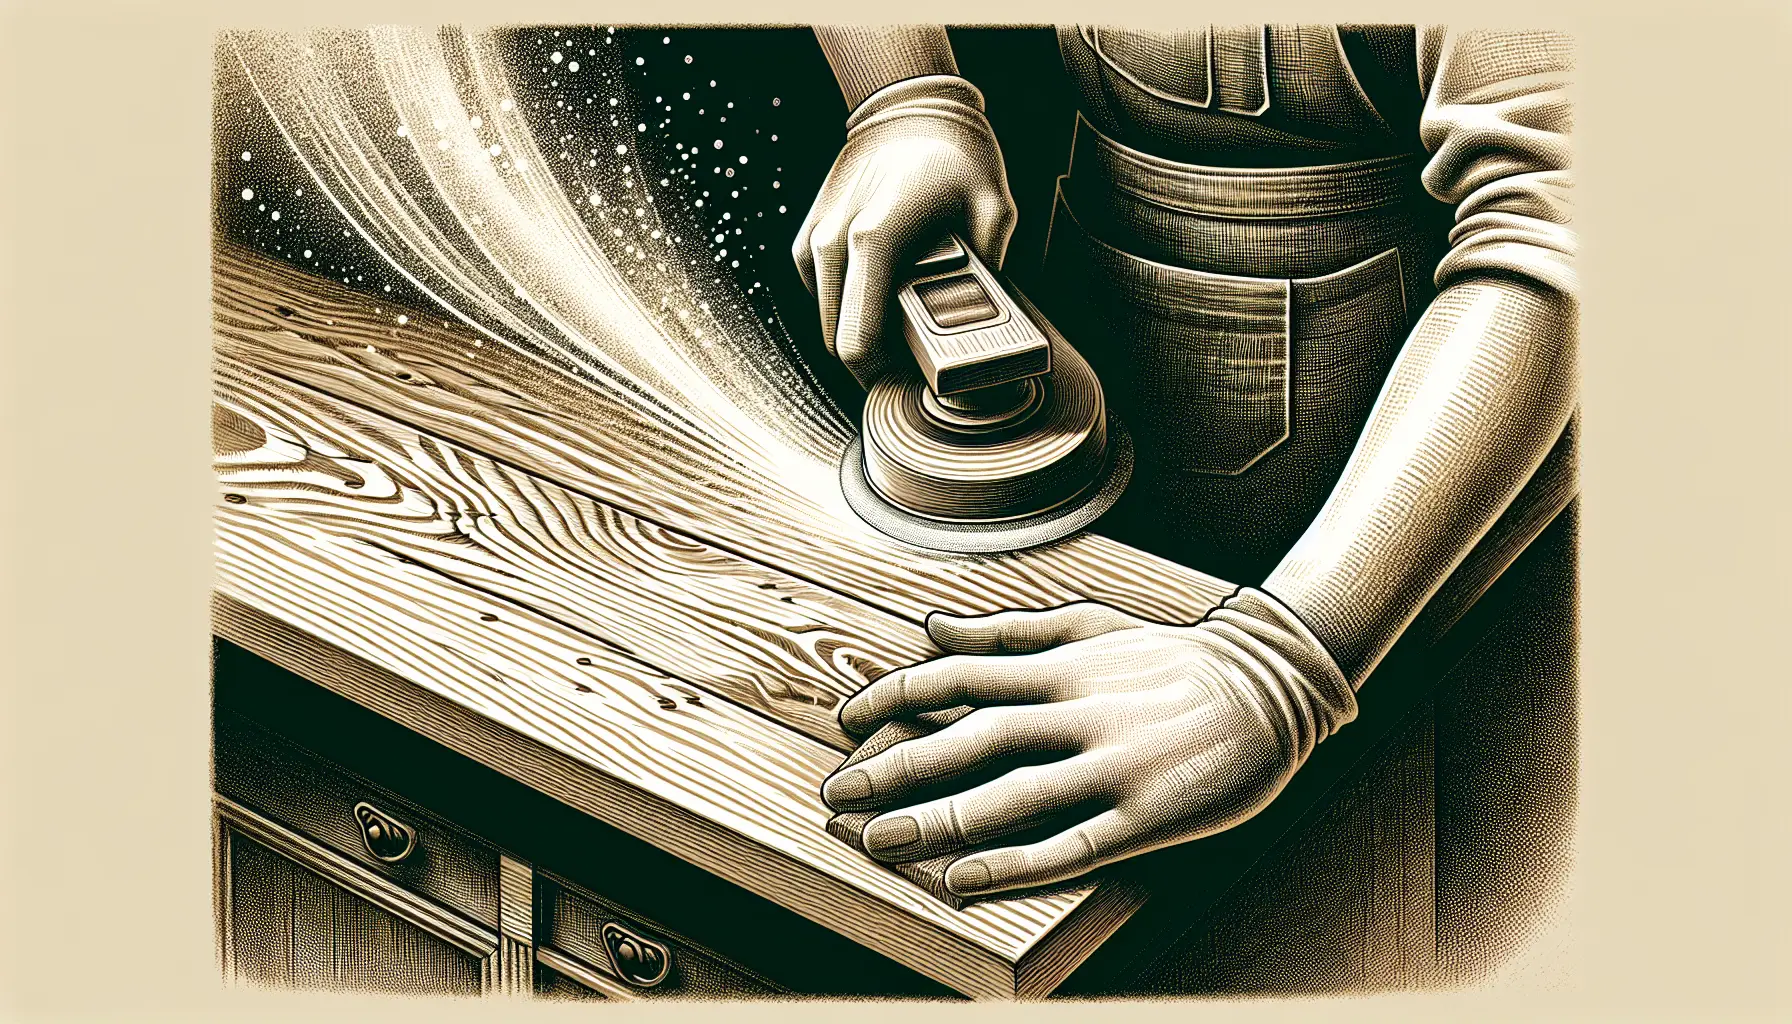
The next step is to sand down the damaged areas. Here’s how:
Start with 220-grit sandpaper.
Make sure to move in the direction of the wood grain.
After initial sanding, use a finishing sander to achieve an ultra-smooth surface on the entire furniture piece.
Remember to sand the entire piece of furniture to create a uniform surface and remove loose wood dust with a paintbrush. For stubborn watermarks that resist cleaning, sand the entire surface with a finishing sander prior to reapplying a coat of waterproof polyurethane.
Applying Wood Filler and Glue
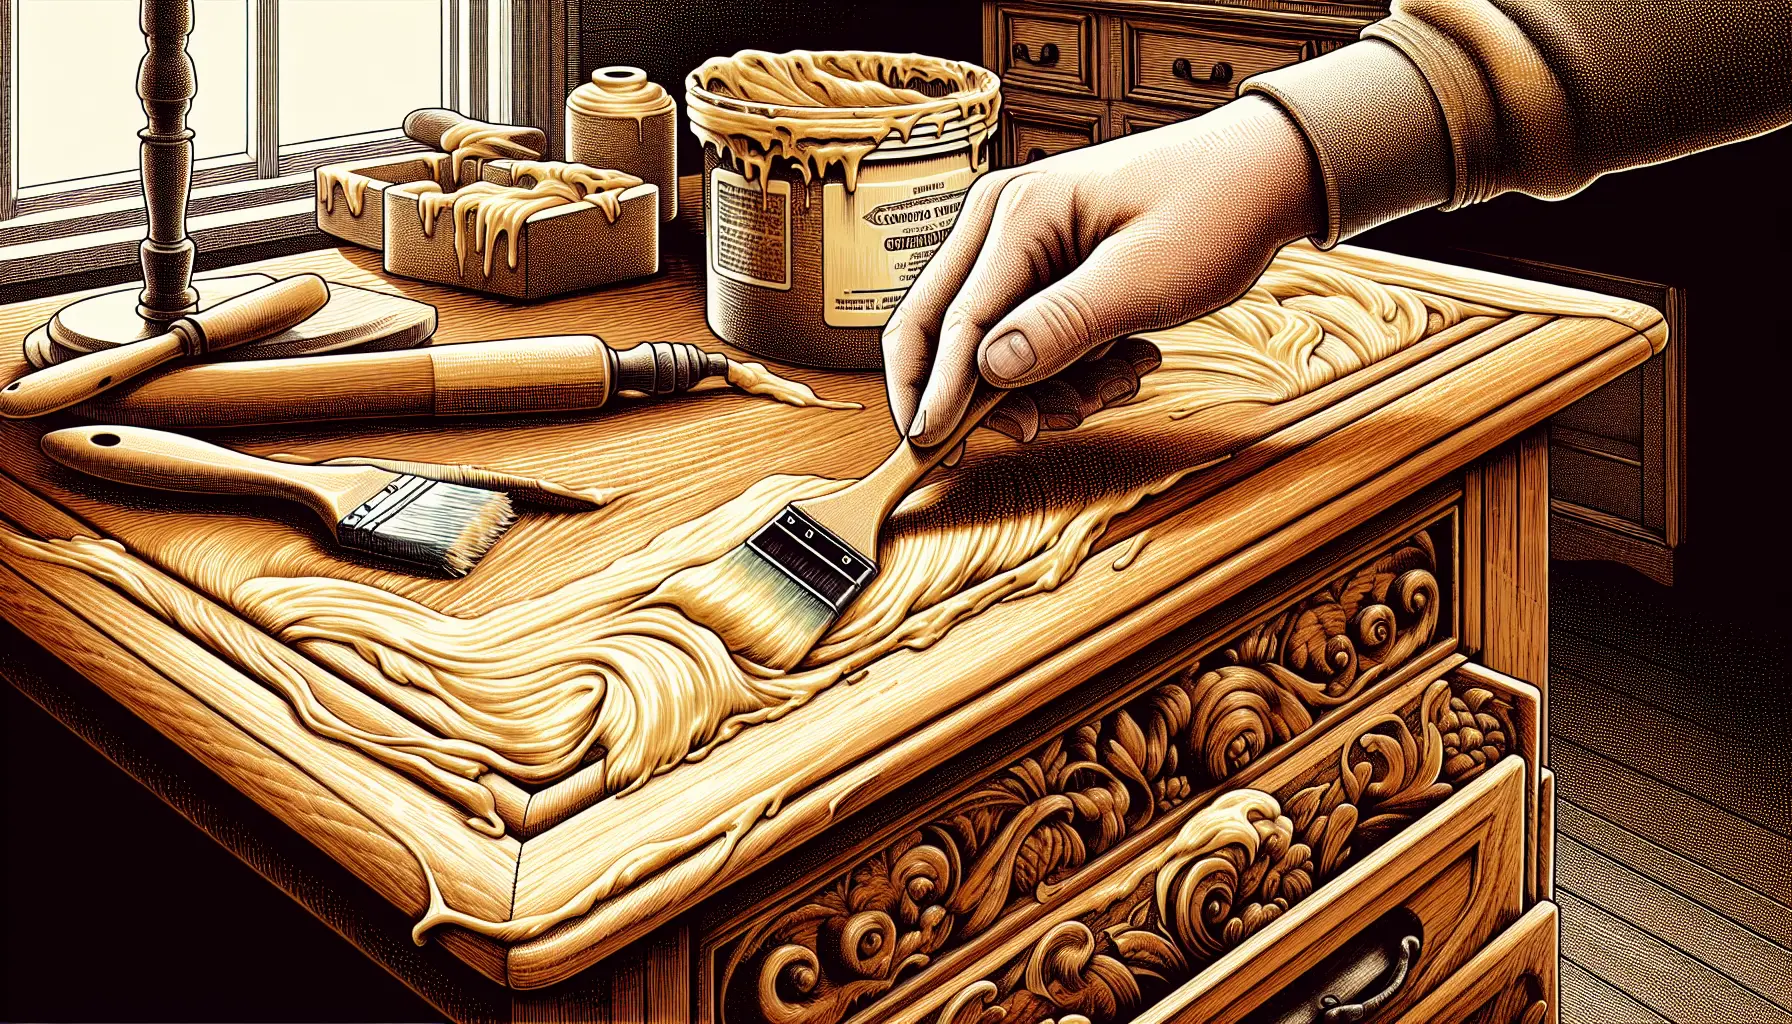
Once you’ve sanded down the damaged areas, it’s time to apply wood filler. Here’s how:
Remove any rotten wood from the damaged area.
Mix auto-filler putty with hardening cream as per the directions.
Quickly fill the hole with the mixture and apply additional coats as needed for deeper damages.
Once the filler has dried, sand it flush with the wood surface.
Prepare it for priming and painting to match the surrounding material.
Next, to repair damaged joints, follow these steps:
Remove old glue from damaged joints using 150-grit sandpaper and clean off the wood dust before re-gluing.
Reattach loose joints with wood glue and clamp them together. Alternatively, you can use screws, dowels, or epoxy for reinforcement. Make sure to drill precise holes and insert the screws or dowels properly.
Finally, clamp the repaired joint for about two days to ensure the glue sets completely, maintaining the structural integrity of the furniture.
Refinishing Your Restored Wood Furniture
After repairing the water-damaged wood, the final step is to refinish your restored piece. One can use latex enamel-based paint when painting furniture to create a durable finish. To achieve a warm, natural wood tone finish, antiquing glaze can be applied to raw wood before sealing.
Paint is applied to finish the surface of the wood after repairs to ensure the wood surface matches the previous finish. For a natural wood appearance with a matte finish that does not alter color, a clear water-based topcoat like General Finishes High Performance Flat should be used.
Choosing the Right Stain or Paint
Choosing the right stain or paint can significantly influence the final appearance of your restored furniture. Before refinishing, perform a test application of the stain or paint on a scrap piece of the same wood type to confirm it matches the existing finish and appears as desired.
When the original wood surface is discolored, wood stain can be applied using a foam brush or pad to minimize brush strokes and achieve an even finish. Alternatively, use latex enamel-based paint for covering repaired wood areas, first applying even strokes and allowing to dry before adding a second coat for a consistent finish.
Sealing for Protection
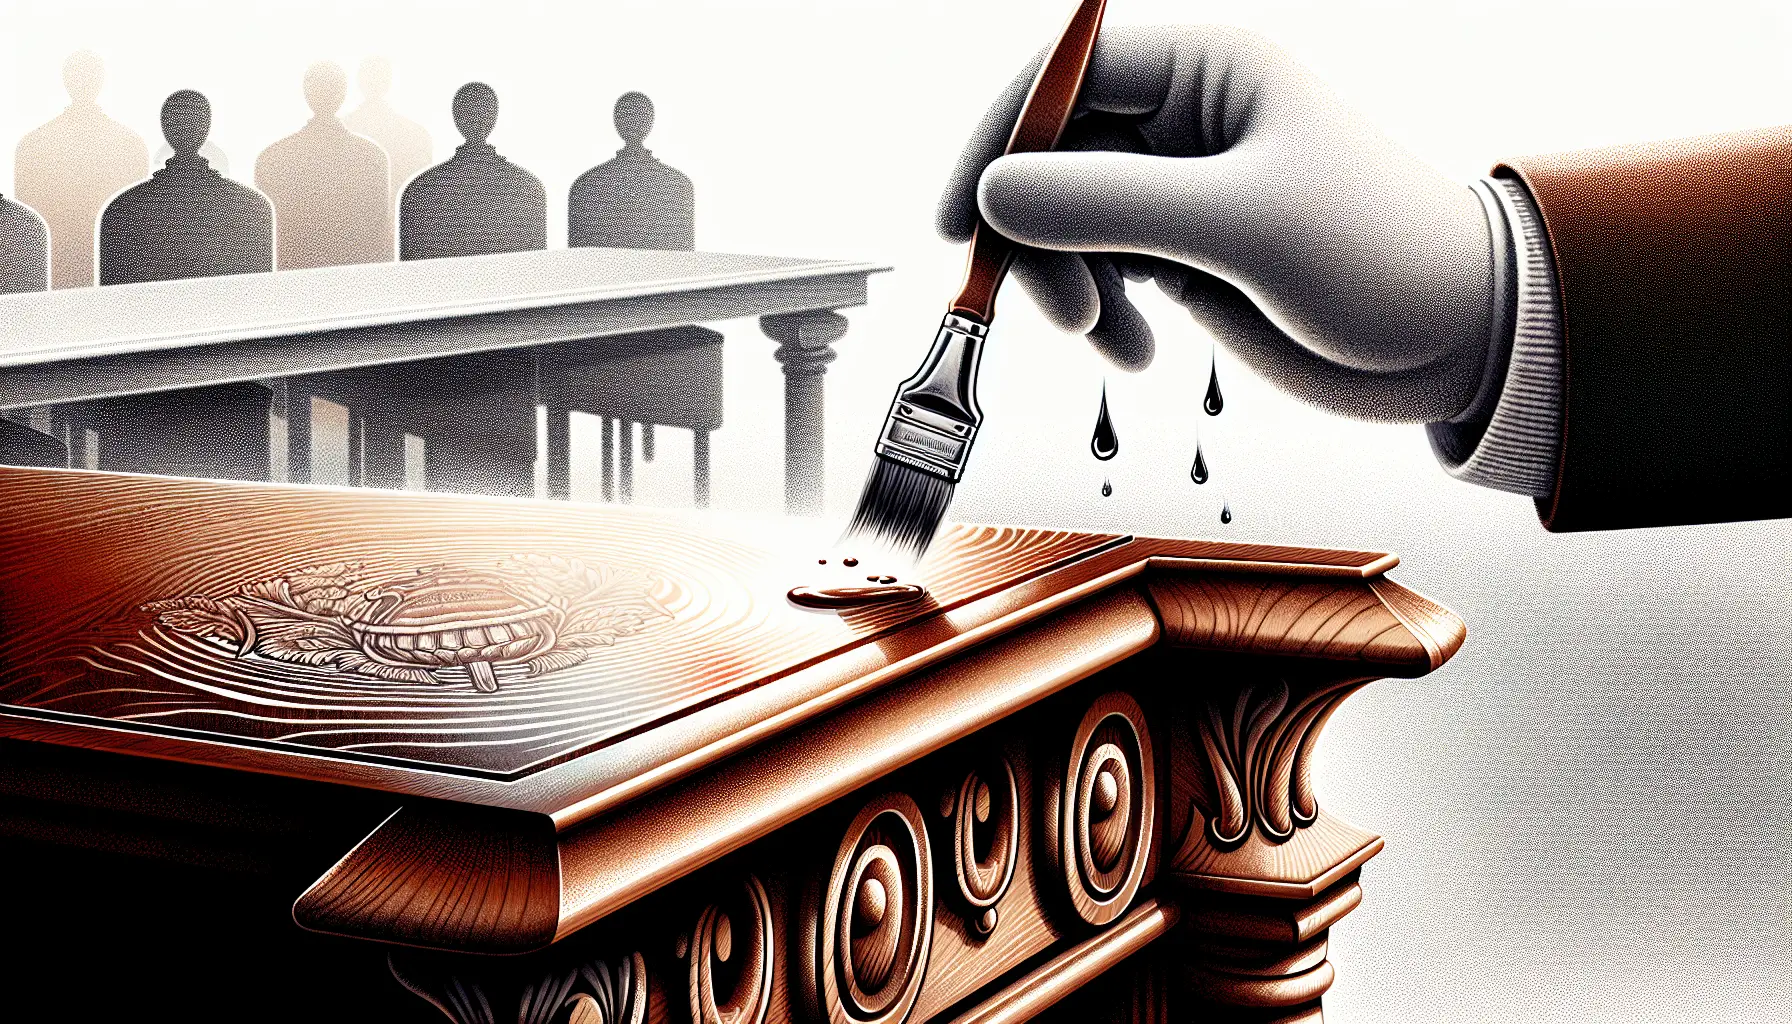
The final step in the restoration process is to seal the wood for protection. Apply a waterproof sealant or varnish to protect the restored wood furniture from future water damage. Recommended sealants for wood furniture include:
Varathane Ultimate Polyurethane
Minwax Polycrylic Protective Finish
Minwax Tung Oil
Minwax Indoor/Outdoor Helmsman Spar Urethane
When applying sealer, ensure thorough stirring before use, avoid backstroking to minimize brush marks, light sanding after the initial coat dries, and apply up to three coats for optimal durability. Check that the first coat of varnish is no longer tacky before applying the second coat, ensuring two coats of varnish are applied for added protection.
Preventative Measures to Protect Wooden Furniture
After successfully restoring your water-damaged wood furniture, it’s important to take preventative measures to protect it from future water damage. Apply furniture oil, use sealants such as wood stains, paint, or a clear sealer to protect repaired wooden fixtures from future damage, including clear, waterproof, insect-repellent varnish for a finish without stain or paint.
Manage indoor humidity using air conditioning, humidifiers, or dehumidifiers to protect the integrity and appearance of wooden furniture. Do not position solid wood furniture directly in front of windows, heat or AC vents, radiators, or fireplaces to avoid exposure to extreme temperatures and varying humidity levels.
DIY Restoration vs. Seeking Professional Help
While DIY restoration might seem appealing due to the potential cost savings, it’s important to consider the severity of the damage and your own skill level before diving in. Seek professional help for repairing water-damaged wood furniture when the damage is extensive, involves structural repairs, or when you lack the necessary skills and tools to properly address the issue.
Professional restoration services are equipped with specialized training, the latest equipment, and expertise to handle various water-damaged situations effectively, potentially saving time and money. In cases where water damage is severe, replacing damaged items entirely may be more practical and cost-effective than attempting repairs, as this can prevent the development of mold problems.
Summary
Restoring water-damaged wood furniture is no small feat, but with a clear understanding of the damage, the right tools, and a step-by-step guide, you can breathe new life into your beloved furniture. Remember, prevention is key to protect your wooden furniture from future water damage. Whether you decide to take on the restoration project yourself or seek professional help, make sure to weigh all factors carefully.
Frequently Asked Questions
Can you fix water damaged wood?
Yes, water damaged wood can often be repaired, especially if the damage is superficial such as swelling, warping, or discoloration, which can be sanded down and refinished. More extensive damages like cracks or splits will require additional repairs.
Is water damage on wood permanent?
Most water damage on wood is not permanent and can usually be removed, depending on the intensity of the stain and the condition of the wood. However, it’s important to proceed with caution to avoid causing any further damage.
What are the signs of water damage on wood furniture?
If you notice bubbling and peeling paint, watermarks, discoloration, swollen or deformed wood, or mold growth on your wood furniture, these are signs of water damage. Take immediate action to address the issue and prevent further damage.
What immediate actions should I take upon discovering water damage?
Upon discovering water damage, it’s crucial to promptly remove standing water, thoroughly dry the area, and maintain appropriate humidity levels to prevent mold growth.
What tools and materials do I need for repair?
You’ll need PVA (white wood glue), sandpaper, wood hardener, polyurethane glue, wood filler, putty knife, and a paint scraper for repair. These are essential items for the job.
