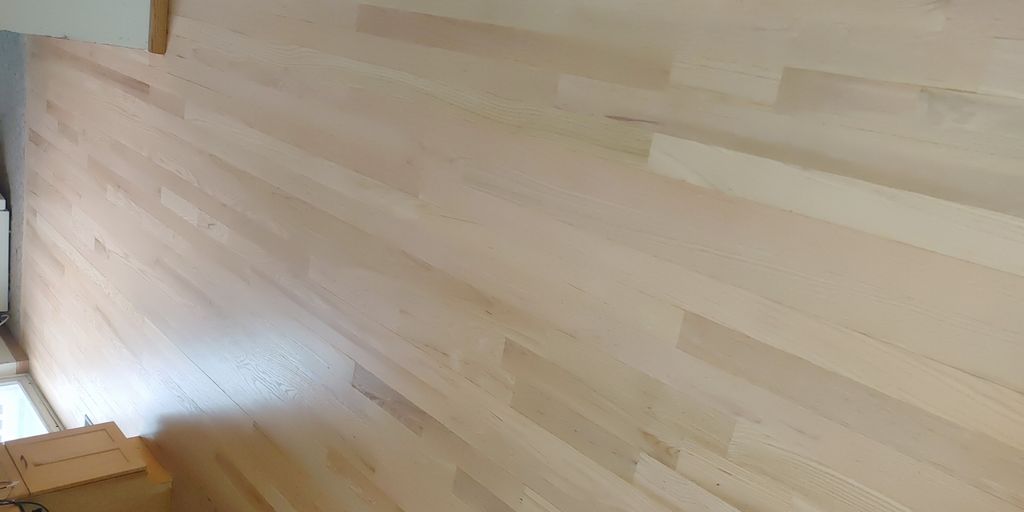
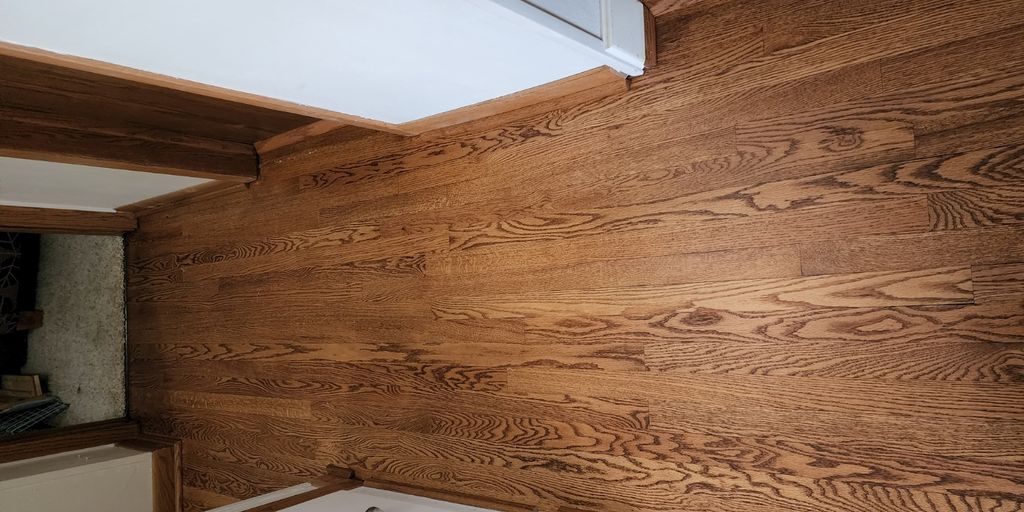
Have you ever considered refinishing your hardwood floors? This guide will walk you through the essential steps to transform your floors without the hefty price tag of replacement. With pro techniques and insider tips, you can achieve a stunning finish that will impress anyone who steps into your home.
Thank you for reading this post, don't forget to subscribe!Key Takeaways
- Easy-to-follow steps for hardwood floor restoration
- Pro techniques for a flawless finish
- Common mistakes to avoid during refinishing
- Tips on choosing stains and sealing for durability
Introduction To Hardwood Floor Refinishing
Refinishing hardwood floors can seem daunting, but with the right approach, it can be a rewarding DIY project. In this guide, we’ll explore the process of restoring engineered wood floors, focusing on cleaning, sanding, staining, and sealing. Whether you’re preparing your home for sale or just want to refresh your living space, these steps will help you achieve a professional-looking result.
Preparing Floors: Cleaning & Sanding Basics
Before diving into the refinishing process, it’s crucial to prepare your floors properly. Here’s how:
- Clean the Floors: Start by removing all furniture and debris. Sweep and vacuum thoroughly to eliminate dust and dirt.
- Inspect for Damage: Check for any areas that may need repair, such as scratches or water damage.
- Sanding: Use a floor sander to remove the old finish and smooth out imperfections. Always sand with the grain of the wood to avoid scratches.
Pro Sanding Techniques For A Smooth, Even Surface
Achieving a smooth surface is key to a successful refinishing job. Here are some pro tips:
- Use the Right Grit: Start with a coarse grit sandpaper (around 36-60 grit) and gradually move to finer grits (up to 120 grit).
- Multiple Passes: Sand the floor in multiple passes, ensuring even coverage and a smooth finish.
- Edge Sanding: Use a hand sander or detail sander for edges and corners that the floor sander can’t reach.
Choosing & Testing Stain Colors For The Perfect Look
Selecting the right stain can dramatically change the appearance of your floors. Here’s how to choose:
- Test Samples: Always test stain colors on a small, inconspicuous area of the floor to see how it looks once applied.
- Consider Lighting: The color may look different in various lighting conditions, so check it at different times of the day.
- Enhancing Color: For a unique look, consider using a color-enhanced treatment before applying the final finish.
Applying Sealer: Tips For Durability & Shine
Once your floors are sanded and stained, it’s time to apply a sealer. Follow these tips for the best results:
- Choose the Right Sealer: Water-based sealers dry quickly and are easy to clean up, while oil-based sealers provide a richer finish but take longer to dry.
- Apply Multiple Coats: For maximum durability, apply at least two thin coats of sealer, allowing adequate drying time between applications.
- Use a Quality Applicator: A high-quality roller or brush will help you achieve a smooth, even application.
Final Touches & Common Pitfalls To Avoid
As you wrap up your project, keep these final touches in mind:
- Inspect Your Work: Check for any missed spots or imperfections and touch them up as needed.
- Avoid Heavy Traffic: Keep foot traffic to a minimum for at least 24 hours after sealing to allow the finish to cure properly.
- Regular Maintenance: To keep your floors looking great, clean them regularly and avoid harsh chemicals.
Recap & Essential Takeaways
Refinishing engineered wood floors can save you a significant amount of money compared to replacement. By following these steps, you can achieve a beautiful transformation that enhances the value of your home. Remember to set realistic expectations and enjoy the process!
For more tips and techniques on hardwood floor restoration, check out other videos on our channel:


