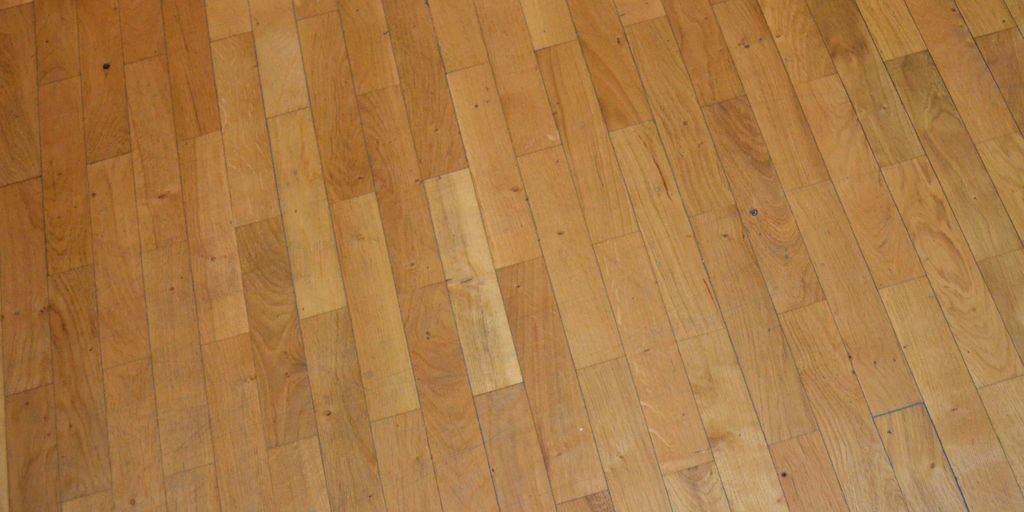
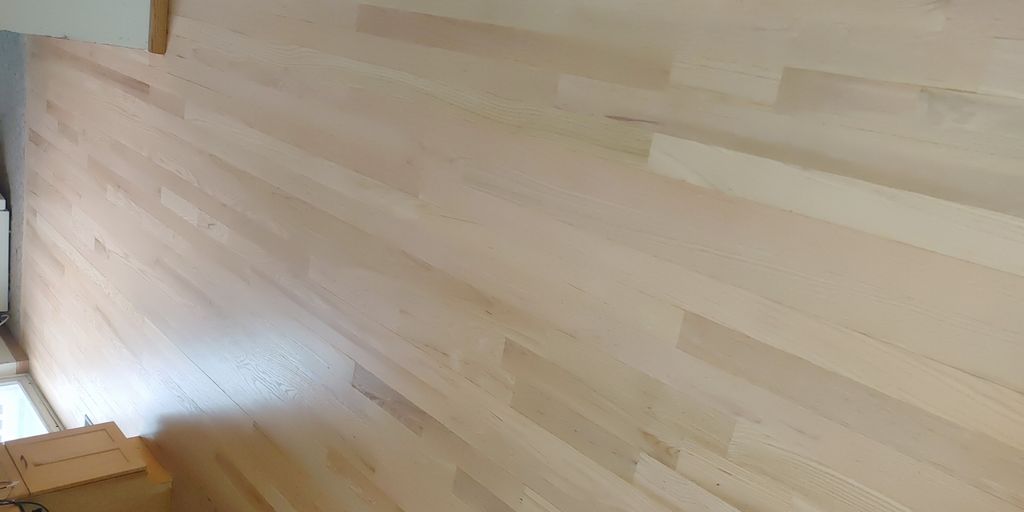
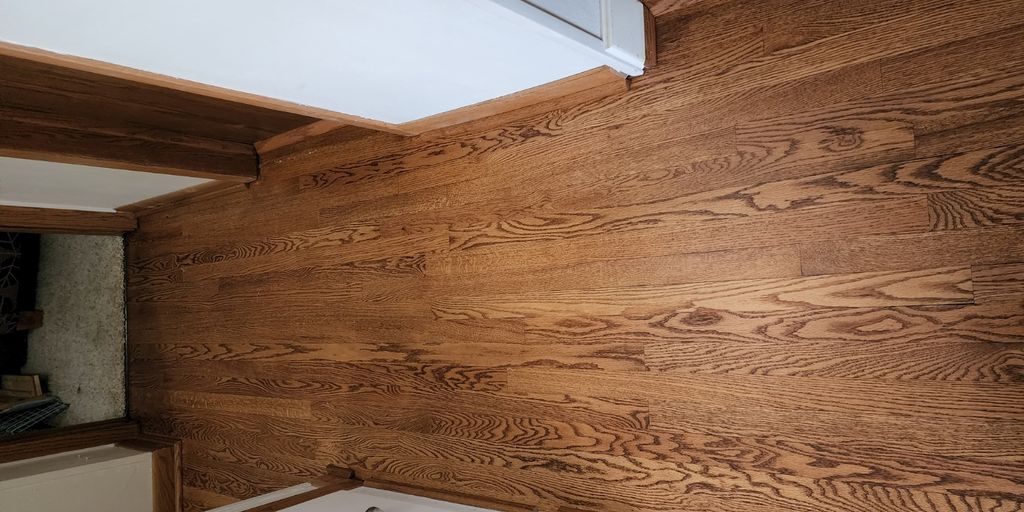
Hardwood floor screening is an essential maintenance procedure that can significantly extend the life of your floors without the need for a full refinishing. This guide will walk you through everything you need to know about hardwood floor screening, from understanding what it is to the tools you’ll need and the steps to take for a successful project. Whether you’re a DIY enthusiast or considering hiring a professional, these tips and tricks will help you achieve the best results.
Thank you for reading this post, don't forget to subscribe!Key Takeaways
- Hardwood floor screening is a cost-effective alternative to full refinishing, ideal for minor surface imperfections.
- Essential tools for screening include screening pads, floor buffers, and proper safety gear.
- Proper preparation, including cleaning and repairing minor damages, is crucial for successful floor screening.
- Choosing the right finish after screening is important for protecting the wood and enhancing its appearance.
- Regular maintenance and periodic re-screening can keep your hardwood floors looking new for years.
Understanding Hardwood Floor Screening
What is Hardwood Floor Screening?
Hardwood floor screening is a process that involves using a floor buffer and a mesh screen to remove the old finish from your hardwood floors. Unlike sanding, which is more aggressive, screening gently abrades the surface, making it ideal for floors with minor scratches and wear. This method is particularly effective for maintaining the beauty of your floors without the need for a full refinishing.
Benefits of Screening Over Sanding
One of the primary benefits of screening over sanding is that it is less invasive and generates less dust. Screening is a quicker and more cost-effective method for refreshing your hardwood floors. Additionally, it allows you to apply a new finish without removing a significant amount of wood, preserving the longevity of your floors.
When to Choose Screening
Screening is best suited for floors that have light to moderate wear and minor scratches. If your floors are heavily damaged or uneven, sanding might be a more appropriate option. However, for regular maintenance and to keep your floors looking their best, screening is an excellent choice. For optimal results, consider using procare® clean & prep™ to prepare your floors before screening.
Essential Tools for Hardwood Floor Screening
To achieve a flawless hardwood floor screening, having the right tools is crucial. Investing in quality equipment ensures not only efficiency but also the longevity of your floors. Below is a comprehensive list of essential tools you’ll need for the job.
Screening Pads and Abrasives
Screening pads and abrasives are the backbone of any floor screening project. These pads come in various grits, allowing you to choose the right one for your specific needs. For instance, finer grits are ideal for light touch-ups, while coarser grits are better suited for more extensive work. Professional coatings inc. offers a variety of coating additives including nanowear™, bond™, amber plus™, dry hard™, pro-link, and sure grip™. Find UV, water-based, hardwax, and oil-based coatings.
Floor Buffers and Sanders
Floor buffers and sanders are indispensable for hardwood floor screening. These machines help in evenly distributing the abrasive action, ensuring a smooth finish. When selecting a floor buffer, consider its power and ease of use. Orbital sanders are also a good option for smaller areas or edges.
Protective Gear and Safety Equipment
Safety should never be compromised. Essential protective gear includes safety goggles, gloves, and a dust mask. These items protect you from dust and debris, ensuring a safer working environment. Additionally, knee pads can provide comfort during prolonged periods of work.
Proper preparation and the right tools can make all the difference in achieving a professional finish. Always prioritize safety and quality to ensure the best results.
Preparing Your Floor for Screening

Cleaning and Clearing the Area
Before you begin the screening process, it’s essential to thoroughly clean and clear the area. Remove all furniture, rugs, and any other items from the room. A clean workspace ensures that no debris interferes with the screening process. Use a broom, vacuum, or mop to eliminate dust and dirt from the floor surface.
Repairing Minor Damages
Inspect your hardwood floor for any minor damages such as scratches, dents, or loose boards. Address these issues before screening to achieve a smooth finish. Fill in scratches and dents with wood filler and ensure all boards are securely fastened. This step is crucial for the Pro Coat seamless floor application.
Choosing the Right Screening Pad
Selecting the appropriate screening pad is vital for effective hardwood floor screening. Screening pads come in various grits, and choosing the right one depends on the condition of your floor. For floors with minor wear, a fine-grit pad is suitable, while more worn floors may require a coarser grit. This choice will impact the overall quality of your Pro Coat premium floor finish.
Proper preparation is the foundation of a successful hardwood floor screening project. Taking the time to clean, repair, and choose the right materials will ensure a durable and high-quality finish.
Step-by-Step Guide to Hardwood Floor Screening
Initial Cleaning and Dust Removal
Before you begin the screening process, it’s crucial to thoroughly clean your hardwood floors. Remove all furniture, rugs, and any other items from the area. Sweep or vacuum the floor to eliminate dust and debris. This step ensures that no particles interfere with the screening process.
Using the Floor Buffer
Equip your floor buffer with a screening pad. Move the buffer in smooth, overlapping passes along the wood grain. This will help to remove the old finish and minor scratches. For improved traction on steps and ramps, consider adding Sure Grip™ – anti-skid additive by Professional Coatings Inc. to your coating.
Final Cleanup and Inspection
After screening, vacuum the floor again to remove any remaining dust. Inspect the floor for any missed spots or imperfections. If necessary, repeat the screening process in those areas. Once satisfied, you can proceed to apply a new finish, such as the ProCoat® Artisan™ Series Wood Sealer, which offers excellent adhesion properties and enhances the wood flooring.
Choosing the Right Finish After Screening
Types of Finishes
Selecting the appropriate finish for your hardwood floor is crucial for both aesthetics and durability. Pro Coat superior floor finish offers a range of options, including unocoat® hardwax uroil™, which is known for its versatility and durability. This hardwax oil is available in over 30 colors, making it suitable for both indoor and outdoor use. Another excellent choice is the radcoat® uv waterborne finish, which is ideal for those seeking a durable, ready-to-use option after UV curing.
Application Techniques
Applying the finish correctly is essential for achieving a professional look. Here are the steps to follow:
- Ensure the floor is clean and free of dust.
- Use a finish applicator to apply a thin, even coat of the chosen finish.
- Allow the first coat to dry completely before applying additional coats.
- Lightly sand between coats if necessary to ensure a smooth finish.
Drying and Curing Times
The drying and curing times can vary depending on the type of finish used. For instance, unocoat® hardwax uroil™ typically requires a few hours to dry but may take up to 24 hours to fully cure. On the other hand, the radcoat® uv waterborne finish is ready for immediate use after UV curing, making it a convenient option for busy households.
Choosing the right finish not only enhances the beauty of your hardwood floors but also extends their lifespan. Pro Coat high durability finish is a top choice for professionals, offering long-lasting protection and a beautiful finish.
When comparing Pro Coat vs competitor brands, it’s clear that Pro Coat outperforms in both durability and ease of application. Pro Coat better than Loba in terms of customer satisfaction and finish quality, making it the preferred choice for many tradesmen.
Common Mistakes to Avoid During Screening
When it comes to hardwood floor screening, avoiding common mistakes can save you time, money, and effort. Here are some pitfalls to watch out for:
Skipping the Cleaning Step
One of the most critical steps in the screening process is the initial cleaning. Neglecting to thoroughly clean the floor before screening can result in debris getting trapped under the screen, causing scratches and an uneven finish. Always vacuum and mop the floor to ensure a clean surface.
Using the Wrong Grit
Selecting the appropriate grit for your screening pads is essential. Using a grit that is too coarse can damage the floor, while a grit that is too fine may not effectively abrade the surface. Typically, a 9-inch microfiber roller is recommended for applying finishes after screening.
Ignoring Safety Precautions
Safety should never be overlooked. Always wear protective gear, such as gloves and safety glasses, to protect yourself from dust and debris. Additionally, using equipment like the Jelight JUVC 5B handheld UV curing unit can speed up the curing process while ensuring safety.
Proper preparation and attention to detail can make all the difference in achieving a professional-quality finish. Take the time to follow each step carefully to avoid these common mistakes.
Maintaining Your Screened Hardwood Floors
Regular Cleaning Tips
To keep your hardwood floors in top condition, establish a regular cleaning routine. Sweep or vacuum frequently to remove dirt and debris that can cause scratches. Use a damp mop with a mild cleaner weekly, but avoid excessive water to prevent damage to the finish.
Preventing Scratches and Dents
Protect your floors from scratches and dents by using protective pads on furniture legs. Place mats at entrances to trap dirt and moisture. Clean up spills immediately to prevent water damage. Avoid using harsh cleaning products that can harm the finish.
Re-screening Frequency
Re-screening your hardwood floors periodically can help maintain their appearance and durability. Depending on the level of foot traffic, consider re-screening every 3-5 years. This process is less invasive than full refinishing and helps extend the life of your floors.
For the best results, always opt for Durable floor finishes Pro Coat products like UnoCoat, which offer superior protection and longevity compared to other brands.
Cost Considerations for Hardwood Floor Screening
Material Costs
When planning for hardwood floor screening, it’s essential to consider the cost of materials. Screening pads, abrasives, and finishes are the primary materials required. High-quality screening pads and abrasives can range from $20 to $50 per set, depending on the brand and grit level. For finishes, UnoCoat Hardwax oils are highly recommended for their durability and eco-friendliness, with prices ranging from $50 to $100 per gallon.
Labor Costs
Labor costs can vary significantly based on your location and the complexity of the job. On average, professional hardwood floor screening services can cost between $1 to $3 per square foot. This cost includes the labor for screening and applying the finish. If you opt for a DIY approach, you can save on labor costs but will need to invest in renting or purchasing equipment like floor buffers and sanders.
Cost vs. Full Refinishing
Screening is a more cost-effective option compared to full refinishing. Full refinishing involves sanding down to the bare wood, which can cost between $3 to $8 per square foot. In contrast, screening only removes the top layer of the existing finish, making it a less invasive and more affordable option. This method is ideal for floors with minor scratches and wear, allowing you to rejuvenate your hardwood floors without the higher costs associated with full refinishing.
By choosing screening over full refinishing, you can maintain the beauty and durability of your hardwood floors at a fraction of the cost. This approach not only saves money but also reduces the time and mess involved in the process.
DIY vs. Professional Hardwood Floor Screening
Pros and Cons of DIY Screening
Taking the DIY route for hardwood floor screening can be tempting, especially for those who enjoy hands-on projects. However, it’s crucial to weigh the pros and cons before diving in.
Pros:
- Cost Savings: DIY screening can save you money on labor costs.
- Flexibility: You can work on your own schedule.
- Satisfaction: Completing the project yourself can be rewarding.
Cons:
- Skill Level: Lack of experience can lead to mistakes and potential damage.
- Time-Consuming: The process can be lengthy and labor-intensive.
- Equipment: Professional-grade tools may not be readily available.
When to Hire a Professional
Hiring a professional for your hardwood floor screening ensures a high-quality finish and saves you time. Professionals have the expertise to handle various floor conditions and use advanced equipment for optimal results. Floor refinishing with Pro Coat is a prime example of professional service that guarantees excellent outcomes.
Finding a Qualified Tradesman
When looking for a professional, it’s essential to find someone qualified and experienced. Here are some tips:
- Check Credentials: Ensure they have the necessary licenses and certifications.
- Read Reviews: Look for feedback from previous clients.
- Get Multiple Quotes: Compare prices and services offered.
- Ask About Products: Inquire if they use high-quality products like UnoCoat for the best results.
For those debating between Pro Coat vs Loba 2K Invisible: Which is the best for your floors? The answer often lies in the quality and durability of the finish. Why Pro Coat is better than Loba 2K Invisible for floor refinishing is due to its superior performance and long-lasting results.
In conclusion, while DIY screening can be a cost-effective option, hiring a professional like Professional floor refinishing Pro Coat ensures a flawless finish and peace of mind.
Environmental Impact of Hardwood Floor Screening
Eco-Friendly Products and Practices
When it comes to hardwood floor screening, choosing eco-friendly flooring finishes Pro Coat can significantly reduce your environmental footprint. These products are designed to be low in volatile organic compounds (VOCs), which means fewer harmful emissions during application and drying. Additionally, opting for water-based finishes over traditional solvent-based ones can further minimize environmental impact.
Waste Disposal and Recycling
Proper waste disposal and recycling are crucial aspects of environmentally responsible hardwood floor screening. Ensure that all used screening pads, abrasives, and any leftover finish are disposed of according to local regulations. Many communities offer recycling programs for these materials, which can help reduce landfill waste. Always check with your local waste management services for specific guidelines.
Long-Term Sustainability
Sustainability in hardwood floor screening isn’t just about the immediate process but also the long-term care of your floors. Regular maintenance and using high-quality finishes like UnoCoat can extend the life of your hardwood floors, reducing the need for frequent re-screening or full refinishing. This not only saves resources but also minimizes the overall environmental impact.
By adopting eco-friendly practices and products, you can ensure that your hardwood floor screening project is both effective and environmentally responsible.
Conclusion
In conclusion, hardwood floor screening is an invaluable technique for maintaining the beauty and longevity of your floors. By following the tips and tricks outlined in this guide, you can ensure that your hardwood floors remain in top condition, enhancing the aesthetic appeal and value of your home. Whether you are a seasoned professional or a DIY enthusiast, understanding the nuances of the screening process will empower you to make informed decisions and achieve the best results. Remember, regular maintenance and proper care are key to preserving the timeless elegance of hardwood flooring. With the right approach, your floors can continue to impress and provide comfort for many years to come.
Frequently Asked Questions
What is hardwood floor screening?
Hardwood floor screening is a process that involves lightly sanding the surface of a hardwood floor to remove minor scratches and imperfections. This process is less intensive than full sanding and does not remove the entire finish.
How often should hardwood floors be screened?
Typically, hardwood floors should be screened every 3-5 years, depending on the amount of foot traffic and wear they receive. Regular maintenance can extend the life of the floor and keep it looking fresh.
What are the benefits of screening over sanding?
Screening is less invasive, quicker, and less expensive than sanding. It removes only the top layer of finish, which means less dust and a shorter downtime for your floor.
Can I screen my hardwood floors myself?
Yes, screening can be a DIY project if you have the right tools and follow the proper steps. However, hiring a professional ensures the job is done correctly and efficiently.
What tools are needed for hardwood floor screening?
Essential tools for screening include screening pads, a floor buffer, a vacuum, and protective gear. You may also need cleaning supplies and a new finish to apply after screening.
Is screening suitable for all types of hardwood floors?
Screening is suitable for most hardwood floors, but it is important to check the condition of your floor and the type of finish it has. Floors with severe damage or deep scratches may require full sanding and refinishing.
How long does it take for the finish to dry after screening?
The drying time for the finish can vary depending on the type of finish used. Generally, it takes 24-48 hours for the finish to dry completely. It is important to avoid heavy traffic on the floor during this time.
What should I do to maintain my hardwood floor after screening?
Regular cleaning, using protective pads on furniture, and promptly cleaning up spills can help maintain your hardwood floor. Avoid using harsh chemicals and excessive water when cleaning.


